Photoshop Shape Blur Filter Tutorial
graphicxtras > Adobe Photoshop tutorials > Photoshop filters tutorials
How to use the Photoshop shape blur filter and create unique blurring effects with the powerful vector custom shapes in Photoshop. Add shape presets and control the strength of blurring.
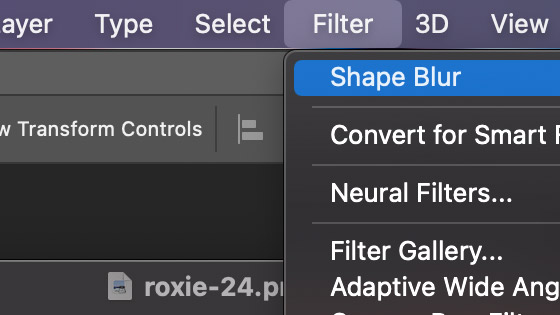
1. Where is the shape blur filter
The shape blur filter in Photoshop uses custom shapes as a source for blurs. The shape blur filter can be found via the blur section of the filter menu.
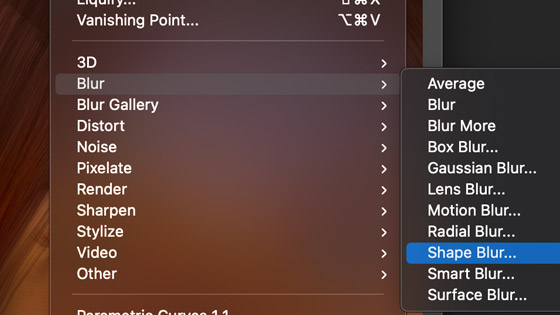
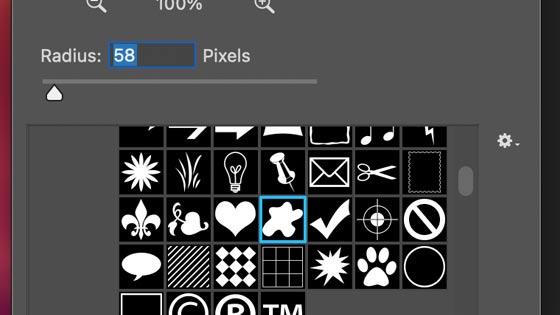
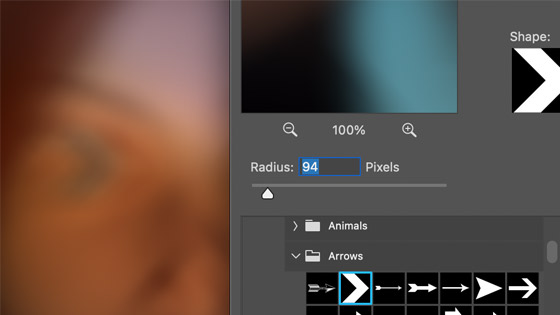
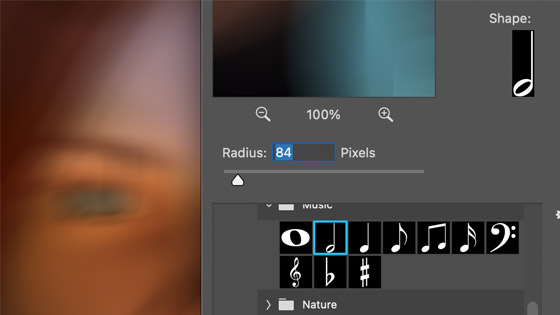
2. Set the radii and select a shape for the shape blur
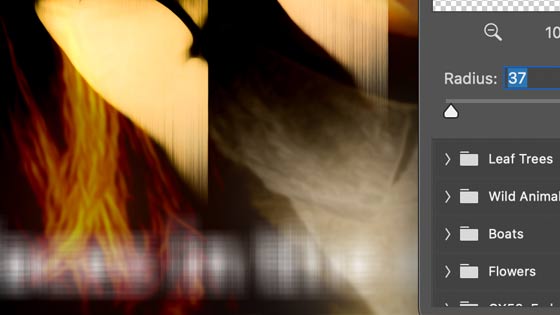
Filter menu in Photoshop (to access the shape blur filter to use with the CSH custom shapes). Blurs category and Shape blur filter. Set radius. Select the shape to use (or load new shapes) and then click OK.
The shape blur filter in Photoshop can be used to create the most unique and weird and wonderful blurring effects in Photoshop. Load the custom shapes via the shapes panel and then use the shape blur filter.
The shape blur filter can be used as a smart object in Photoshop. The filter can be used once or multiple times.
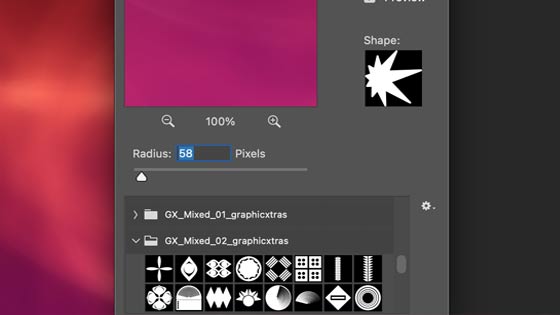
3. Custom shapes and shapes blur in Photoshop
The shape blur filter tool can use the Photoshop shapes (CSH presets) as source for a blur effect using different radii.
You can find the filter via the filter menu and blurs. The result can be more or less successful depending on the path selected.
The shapes appear in the standard presets panel in the tool so you can quickly load any vector path you want to use especially if you have 100s of different CSH sets
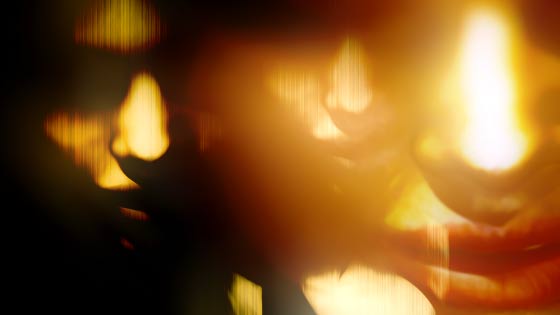
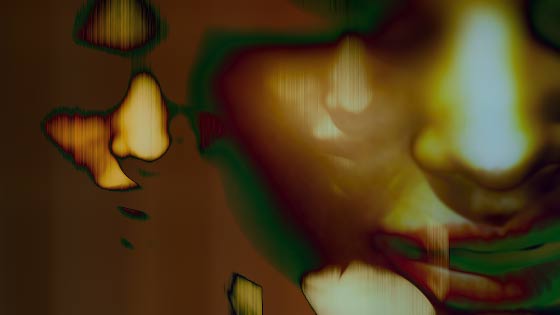
Select different shapes and get a different result
Another blur using a different shape
4. Low settings for the shape blur - you don't need to use the high settings for the blurs
Go to the filter menu and blurs and shape blur. Set radius to 16. Set shape blur and click OK
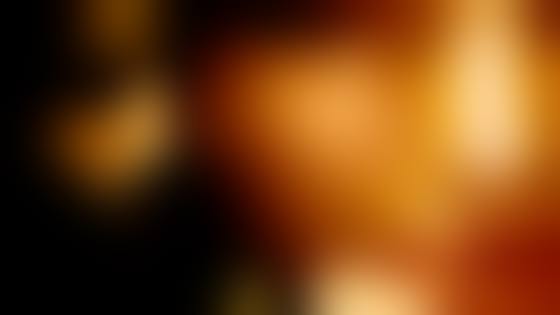
Apply the shape blur once with a low setting and only a subtle effect but still it makes a difference to any image
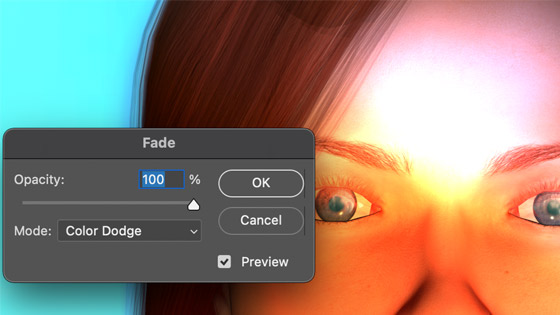
5. Fade the shape blur filter
You can always add a fade to reduce the intensity of the blur and the fade offers a range of great features for the shape blur in that you can change the blending mode and opacity
6. High settings and shape blur - blast the entire image using high settings in Photoshop
Go to the filter menu and blurs and shape blur in Photoshop and select the shape (really doesn't matter with a high setting) and set to radius > 500 and OK
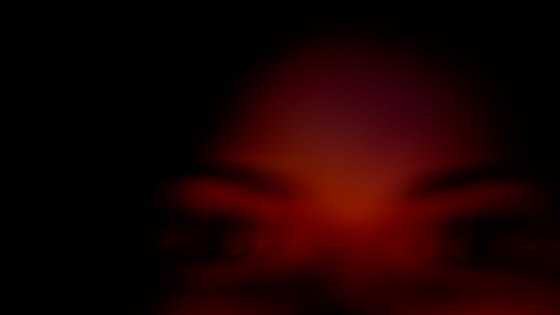
The result is much the same and is not dependent on the custom shape. Actually, mid range settings can result in all kinds of gradients as well as just a totally blurred in image. Set to 1000 and most pictures are totally blasted by the shape blur

Though again instead of just going for a full on shape blur apply, you can always fade the result
Fading with a blend mode of difference with a high setting of radius can create very interesting results as well as using other blending modes. Of course, you can always vary the source shape as well and a thin line design is very different from a thick chunky star design
7. Repeat settings of the shape blur - you can use the shape blur over and over
You can also repeat the effect, perhaps best with a low setting. Apply Photoshop shape blur with low setting such as 10, re-apply shape blur with low setting, repeat 20 times.
Perhaps record an action for this in the actions panel. The result is still pretty blurry but a more interesting blurring effect with more of the features still visible. You can also combine or interleave the effect with other effects
8. Using a selection and apply shape blur filter
You can use the effect with the entire image but you don't need to, you can add a selection such as perhaps focus on the person in the image and then add the effect to the rest of the image or perhaps the person. You can use any number of tools to select the area
Select menu, color range, fuzziness 200 / sampler colors
and then filter and shape blur and set the radius and select the shape and OK and then select menu and deselect
All kinds of interesting effects can be generated combining selections with the shape blur in Photoshop

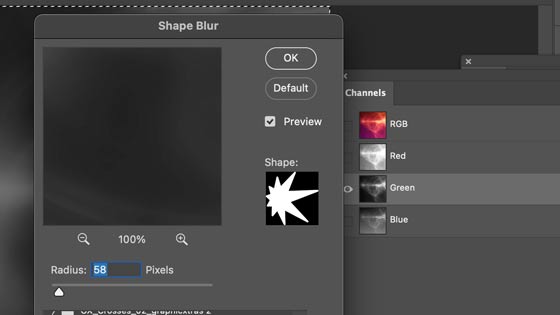
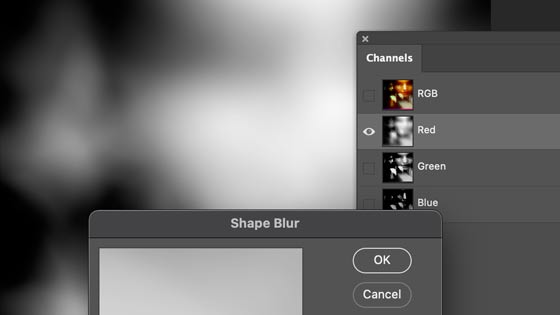
9. Blurring in color channels using shape blur filter
You don't have to use the effect on the same Photoshop color channels. You can select the red channel and add the effect with one path and one radius and then use the effect again on the green channel with the same or different settings and so on.
Window and channels and select red channel and then shape blur filter and set radius and set shape and OK. Select green channel and shape blur filter again but use different radius and different shape and apply with blue channel. Return to RGB
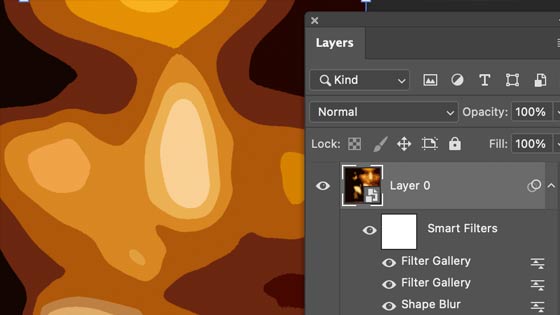
10. Using them as a smart object / filter
You can select any image and convert it into a smart object via the layer menu convert command.
You can then add one or more of the blur effects as well as combine the effect with tools such as oil paint filter and camera raw etc as well as image adjustments added to only that image
Goto the layer menu and then smart object
convert. Use apply shape blur filter with low setting and then oil paint filter. Goto image menu and adjustments and apply vibrance with high settings
You can apply all kinds of filters and combine them with the shape blur. The list of the filters can be seen in the layers panel
11. Shape blur filter and text in Adobe ® Photoshop ®
All the above can also be added to type in Photoshop.
Create some text and then add the effect to the text either using it as a smart object / filter or as just a pure image. The results on type can be very variable and it is quite easy to totally wipe out the small letters in any page etc of text.
Create some type, flatten, filter menu and blurs and shape blur, set the radius very low (5 say), select shape and click OK
12. Actions and shape blur filters
You can set up an action to apply the shape blur filter in Photoshop. Open an image and then goto the actions panel (window menu) and click the record and give it a name and then go to the filter menu and blur and shape blur and then set the radius and shape. Stop the recording
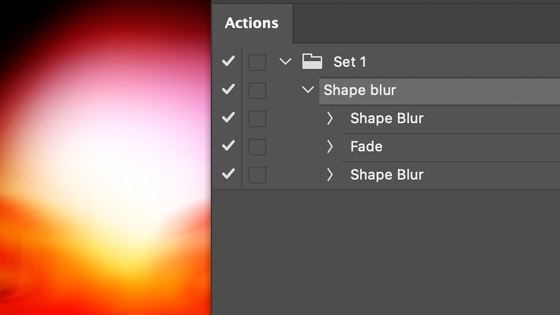
Apply the action to generate the same blur, repeat the action if you want
You can also set up an automate / batch processing via the file and automate and batch and use the action for the shape blur filter effect and add that to an entire folder or set of sub folders