Photoshop Colorize filter Tutorial
graphicxtras > Adobe Photoshop tutorials > Photoshop filters tutorials
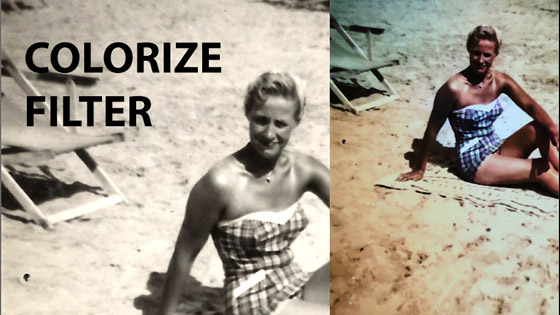
How to use the colorize filter in Photoshop, it is tool to convert black and white vintage old retro photos / pictures into color in seconds with a variety of settings to be able to control the color conversion. You can find the filter in the neural filter in the filter menu.
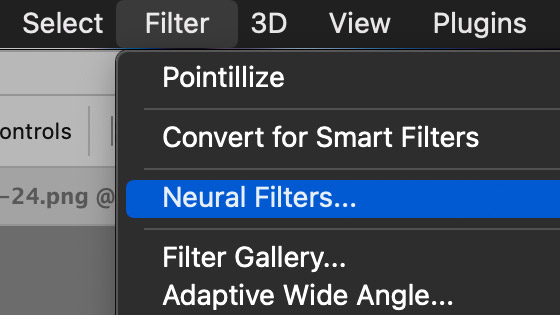
1. Where is the colorize filter in Photoshop - Neural
You can find the colorize filter in the neural filter which can be found in the filter menu of Photoshop
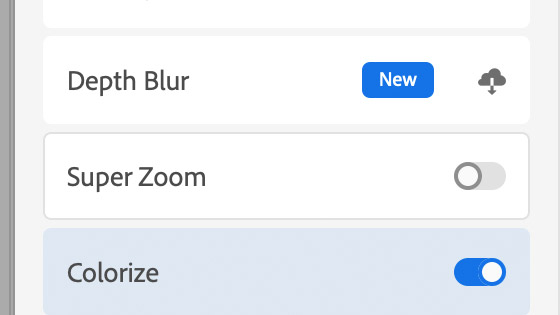
2. Basic use of the Colorize Filter in Photoshop
Select an image layer (preferably a black and white / gray scale image) and then go to the filter menu and neural and then go to the colorize filter and download it. It is an odd way to work but often there are updates and you will have to download those to use the tool. If you already have the filter, you will also have to activate it via the little slider next to the name of the filter and then you can use all the different sliders as well as controls and also output options.
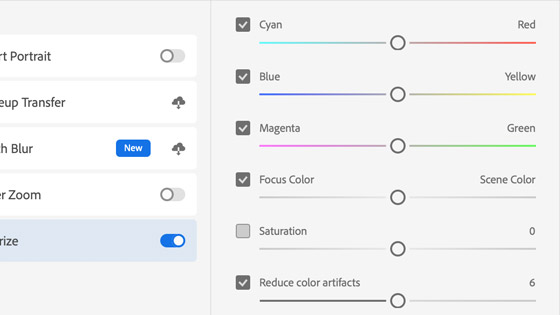
Personally, I find the defaults quite reasonable and you should be able to click OK but you can see the preview on the left of the panel. As you change the settings you will notice the little processing circle as the image is processed on-line.
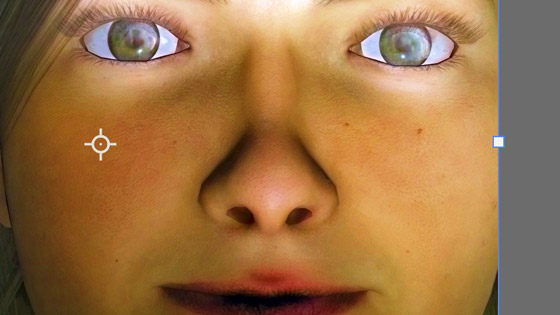
3. Focal points for the colorize filter
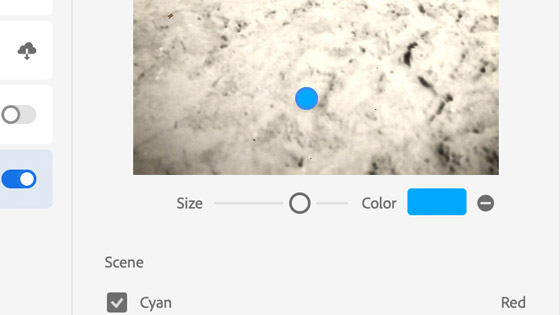
You can also click on the image preview and add some focal points to modify the color locally. You will see a color stop which can be re-colored and the range of the color change over the image can be increased or decreased.
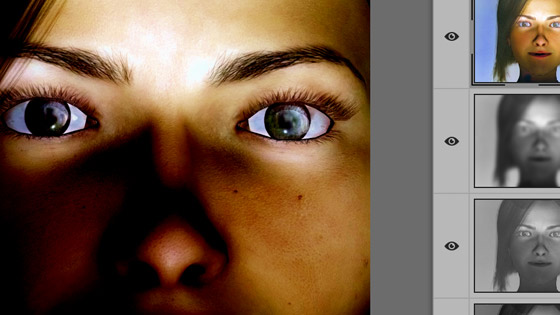
4. Output options for the colorize filter
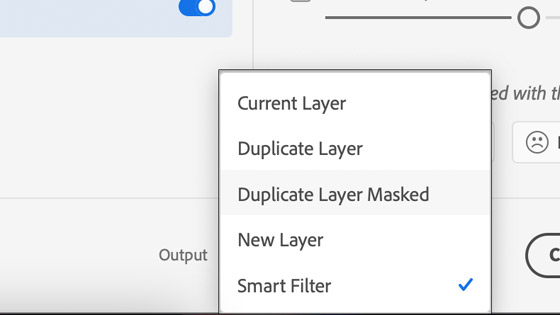
The modern filters are a lot more flexible in their output, the result of the work can be put to a new layer, a duplicate of the layer, current layer (which was the old default) as well as a very useful duplicate layer and masked and also a smart filter which means the results can be removed or tweaked at a later date as the image is then a smart object. Having the result returned as a layer means the colorize filter effect can be tweaked even further by using blending modes as well as combining with other effects and more and also it means that it is a non destructive effect, unless you go for the current layer option
5. Profiles in the colorize filter
Also super useful is a set of profiles such as bright, high contrast etc where the image will be changed based on the profile though I must admit some of them do much the opposite of what I expect. Still, they add another range of color manipulation to your black and white to color conversion

6. Color to Black and white to color with colorize filter
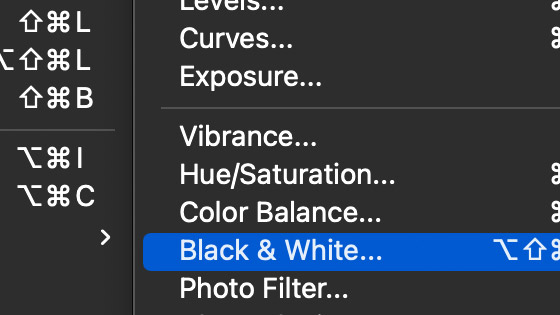
You don't have to be using an old photo, you can use a recent photo or even an illustration or a poser design etc in color and then use the adjustment layers via the image menu to convert the image to black and white and then use the neural filter and colorize into color again and the end result can be quite odd. You can also repeat the operation and vary the settings such as the profiles and cyan, magenta etc and the end result can be quite different from the original image.
Re-apply the adjustment and colorize a few times, you can even set up a quick recorded action for this to apply to any image if you wish
And you also end up with a lot of layers to play with and also use blending modes such as darken and lighten to modify the art even more along with ability to apply effects such as the glass filter to distort the layer and maximum filter to blur the layer and more.
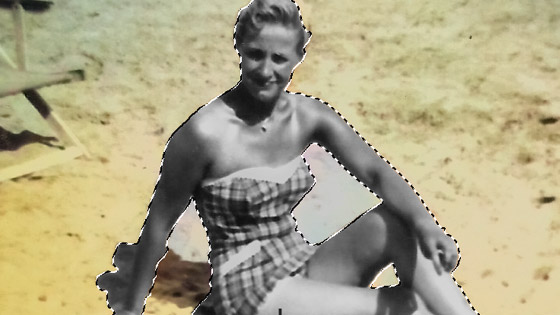
7. Colorize and selections
You can select the subject using the select menu and subject option and with the person selected, you can go to the colorize filter and then the filter effect is only applied to that part of the image
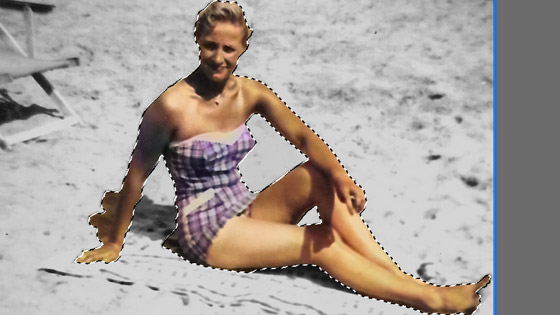
The end result is also added to a layer as well which can then be transformed and styles etc added. The opposite can also be done and invert the selection so the rest of the image is colorized and the subject is still black and white.