Illustrator Circular Ripple Creation Tutorial
graphicxtras > Adobe Illustrator tutorials > Illustrator effects tutorials
** Youtube video tutorial on creating a circular ripple effect in Illustrator **1. Ripple circular basics - What to use and settings
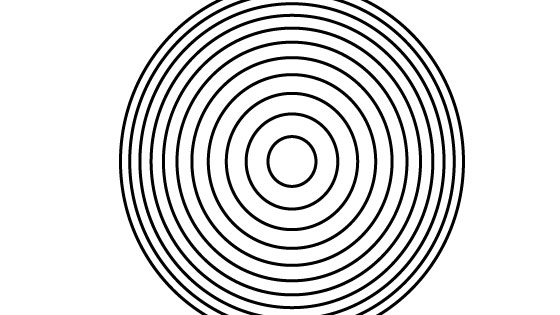
The key thing is the polar grid (PG) tool to create the circles, once you have that you can then manipulate the circles. You can find the tool beneath the line segment tool. Press return with the tool selected and the panel will be displayed. Set concentric to 30 or 20 etc and set radial to 0.
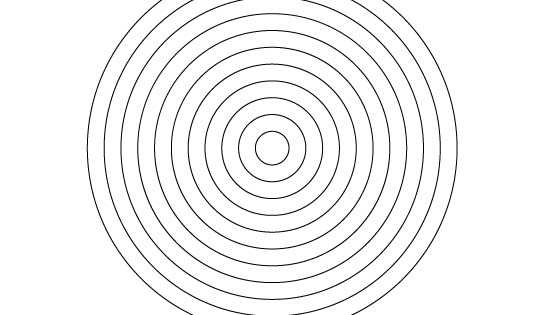
I would suggest dragging out the Illustrator circle path so you have a decent gap between each of the rings, if you are going to set the width to a particular value it is of no use if the paths are too close together. Go to the layers panel found in the window menu and then go to the last entry for the ripples circular group and select that, it is the outer ring.

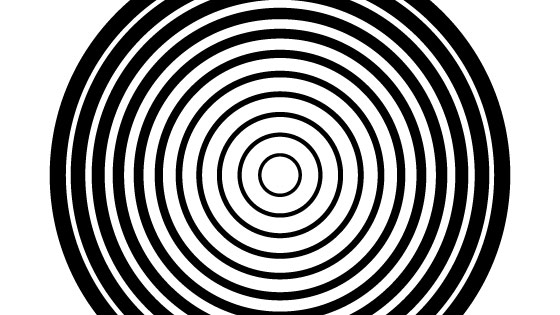
Click the right side circle on the layer entry to select it. If you have 20 rings I would suggest setting the first ring to say 20pt and then select the next circle using the layers panel and setting the stroke for that to 18pt and then the next to 16pt and then the next to 14pt etc. Of course, you can do all kinds of variants of this.
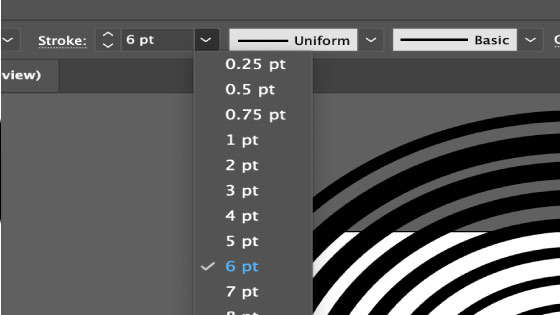
Of course, any number of variants of number sequences can be used such as 30, 27, 24, 21, etc
Object menu and expand unless you want to leave it as a stroke.
2. Re-color the ripple circular design
You can keep the design as is but you can always set it to any color via the fill. You can also fill the empty space in between the circles and you can do that via the live paint bucket. Hover over the empty part of the circle with the live paint bucket (found in the tools box) and change the color via the left and right arrow keys and click to change the color and create a solid fill.

You can then use the color adjust balance found in the colors and edit menu to change the colors perhaps turn the whole thing green.
3. Zigzag applied to ripple circular design
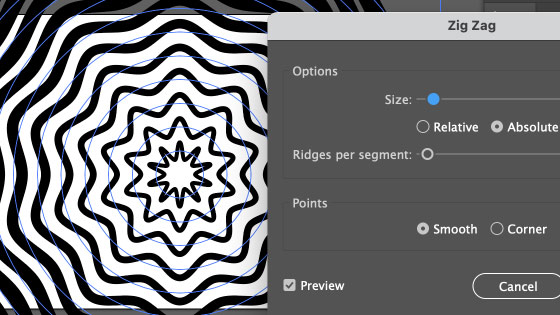
You can add a quick zigzag ripple effect to the ripple circular design by using the stroke form of the ripple (this does not work if you expand it). With that path selected go to the effect menu and distort and zigzag and set the size (low) and ridges (low) and set points to smooth. Click OK. Expand appearance found in the object menu if you want.
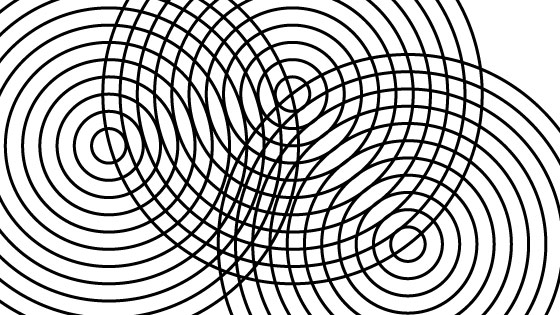
4. Skew the ripples circular design
The OG tool comes with a skew feature that can be used to create many interesting combos of distance of lines, though it does not vary the width of the strokes. Select the PG tool and press return and now you will see a skew option. To get a 'ripple' effect then vary the skew. You can set the concentric skew value to -10 or 10 or -20 or 20, try them out and see what value works best for you for the ripple
10%
-10%
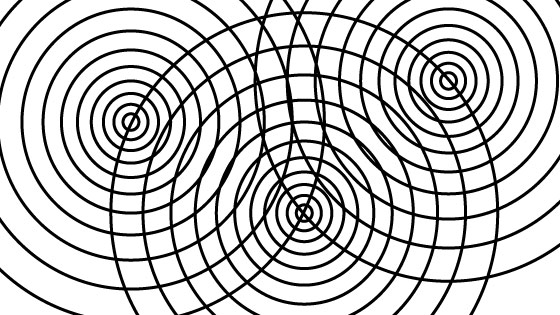
Going with -10%, you can then duplicate the design by holding down the alt / opt key and dragging to create multiple copies and spreading them across the art board. Place them in different locations such as perhaps the center point on the edge of the outer path of another circle.
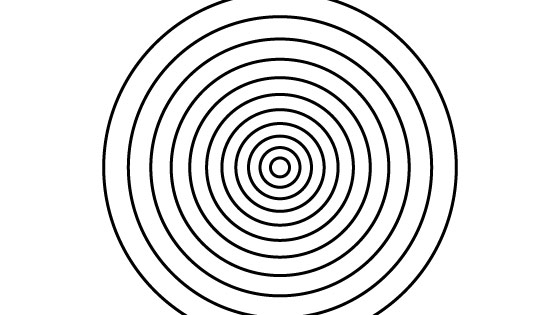
5. Multiple circles with basic ripple circular design
You don't have to do the above with the skew. You can create an interesting ripple circular design simply by using the standard PG path.
6. Color the Multi ripples with live paint
You can, if you wish, use the live paint bucket with the above design. You can select all the circles and then go to the object menu and expand command and now you will have as fills. Go to the pathfinder panel and then click the unite on that. Go to the live paint bucket tool in the tools box and then go back to the document and click in the empty spaces on the design.

7. Broken ripple design
Create a new ripple circular design with the PG tool and then set the stroke for the entire ripple, say 10pt. Go to the object menu and ungroup and then ungroup again. Select an individual circle and then go to the path eraser tool (below shaper tool in the tools box) and drag this along the path multiple times. You can use it to cut paths as well but to remove them, use it as a brush applied over the path to remove the part you want. You will find that you have to select the path again and again as paths are deselected. You can then select parts of the ripple circular design and remove them.